
What Is Snapshot History?
Snapshot history refers to all stored versions of a website inside the Wayback Machine over time. Each snapshot shows how the site looked at that specific date.
Why it matters:
- ✔Lets you view old pages
- ✔Helps find complete copies for restoration
- ✔Shows when site changed
- ✔Identifies best version to extract
- ✔Useful for SEO and expired domain research
Snapshots = your website time machine.
Step 1 — Open the Wayback Machine
- Visit https://archive.org/web
- Enter the domain (example.com)
- View the calendar timeline graph
- Each circle = snapshot you can open
Blue = good capture,Green = redirect,Orange = error or partial.
Hover dates to preview availability.
Step 2 — Compare Multiple Snapshots
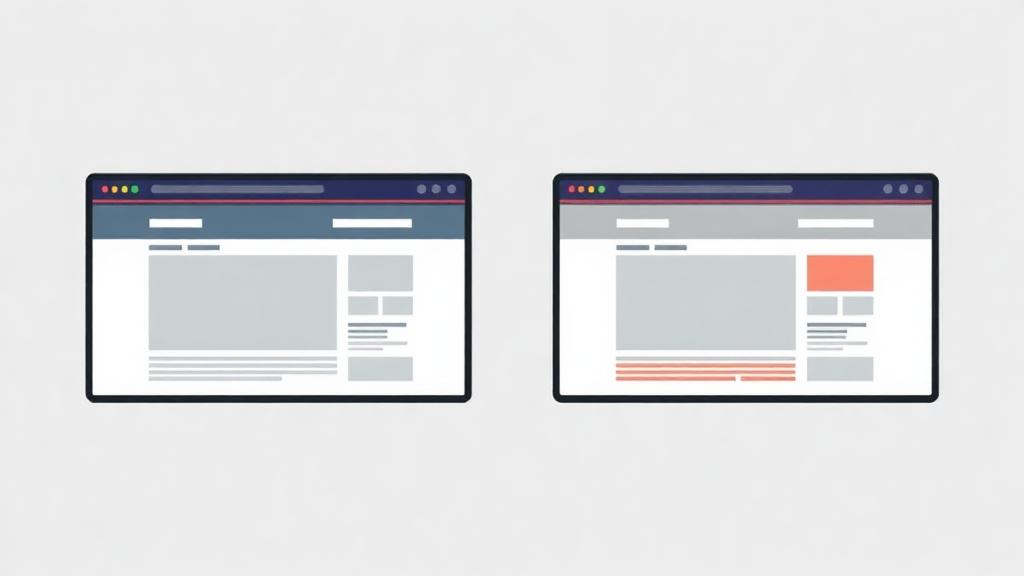
Not all captures are equal.
- •Open snapshots from different years
- •Check layout + content completeness
- •Look for working navigation
- •Test pages & blog posts
- •Try both old and new dates
Sometimes older snapshots = more complete, especially for deleted sites.
Step 3 — Locate Best Version for Recovery
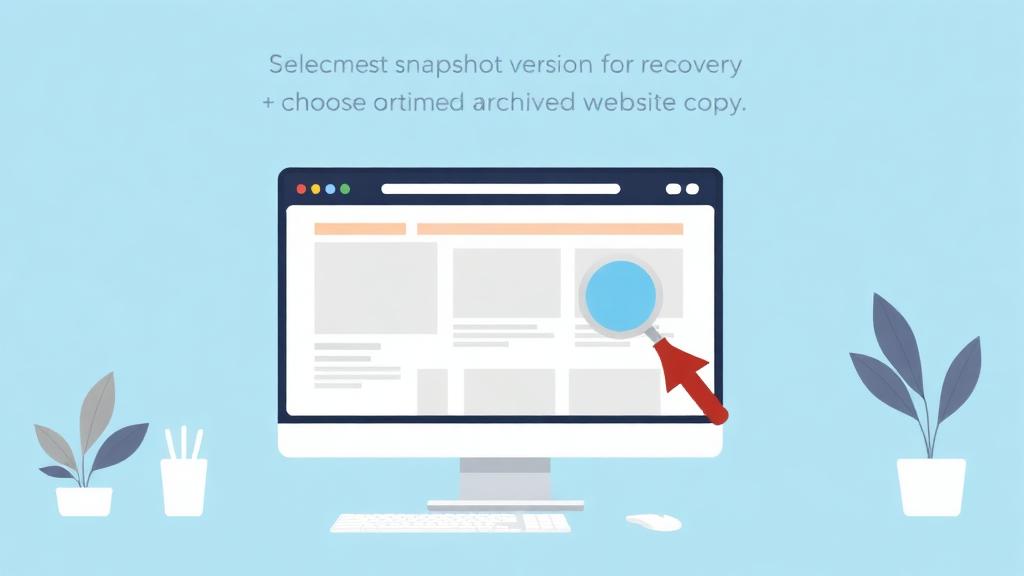
Choose a snapshot where:
- ✔Homepage loads fully
- ✔Navigation menu works
- ✔Images display properly
- ✔CSS/theme layout looks normal
- ✔Most pages are accessible
This becomes your primary restore base.
Step 4 — Deep Dive into Structure
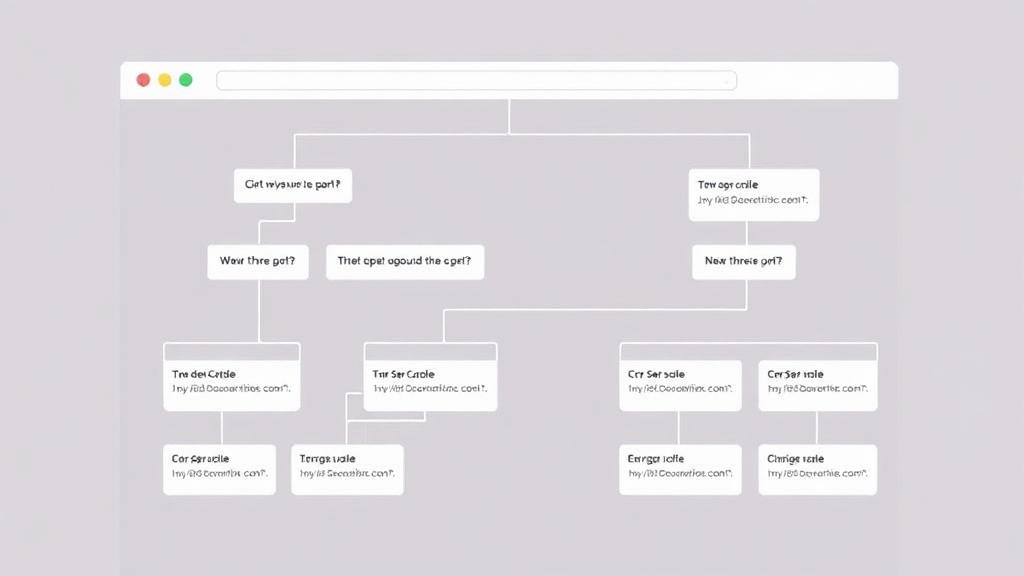
Browse site structure manually:
/about/
/blog/
/services/
/products/
/contact/
Build a map of URLs you will restore.
Pro tip: right-click → Open in New Tab to speed up review.
Step 5 — Check Sub-Pages & Missing Content
Some snapshots have: Images missing, Broken layout, Partially loaded scripts. Fix by checking other dates.
Example strategy:
- •Snapshot A = layout correct, no images
- •Snapshot B = full images, missing CSS
- •Snapshot C = text-only
Combine A+B to restore full site. Automatic tools handle this merging for you.
Step 6 — Export Snapshot List (Optional)
Useful for large sites: Manually copy URLs, Use link crawlers, Or use restore tool to scrape everything.
Step 7 — After Snapshot Selection → Begin Restore
Manual Path
- •Copy HTML + text
- •Download images one by one
- •Fix internal links
- •Rebuild site manually
Automatic Path
- ✔Extract full snapshot
- ✔Clean HTML
- ✔Fix paths
- ✔Zip website package
Fastest way for full recoveries.
Why Snapshot Checking Matters for SEO
Picking the best snapshot:
- ✔Recovers most content
- ✔Reduces broken pages
- ✔Improves link preservation
- ✔Speeds up re-indexing
- ✔Helps rebuild authority faster
Right snapshot = strongest restoration.
Troubleshooting Snapshot Issues
FAQ
How far back can I view snapshots?
As far as Wayback stored them — sometimes decades.
What if only partial snapshots exist?
Combine versions or restore manually.
Do I need original hosting?
No — archives replace missing files.
Can snapshot history help SEO?
Yes — you can rebuild old URLs to recover ranking signals.
Conclusion
Before restoring a website, checking snapshot history tells you what content exists, what version is best to use, and how complete your restoration will be.
Related Articles
How to Restore a Website from Wayback Machine
Complete step-by-step restoration guide
Download Website as ZIP
Get your restored files as a download
Wayback Machine Downloader Guide
Everything about downloading from Wayback
Convert Wayback Archive to HTML
Clean HTML extraction guide
Archive.org Download Guide
Download from Internet Archive
Rebuild Your Site
Full site reconstruction guide
Download Wayback Machine Website as Clean ZIP
Skip wget, Ruby and command line — get a working ZIP in 1–4 minutes.
Working with expired domains?
Check our dedicated expired domain restoration guides
Explore our complete Wayback Machine guide collection
Browse All 20 Guides