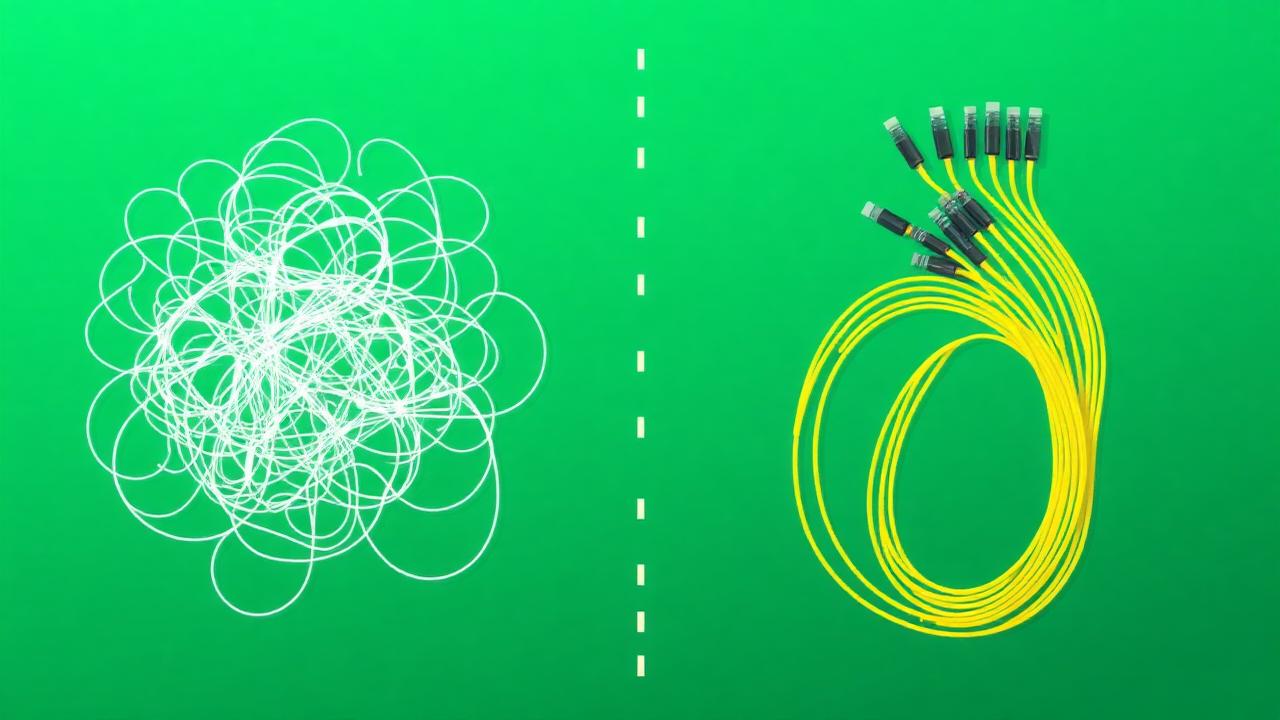
Why HTML Cleanup Matters
Raw Wayback files often include:
- ❗Archive banners
- ❗Duplicate script injections
- ❗Old analytics/tracking
- ❗Broken inline styles
- ❗Unnecessary <div> wrappers
- ❗Outdated meta tags
Cleaning improves:
- ✔Speed
- ✔Readability
- ✔SEO
- ✔Structure
- ✔Layout consistency
- ✔Maintainability
A clean site is easier to update or convert.
Step 1 — Remove Wayback Scripts & Wrappers
Search for lines like:
web.archive.org/_static/
archive.org/web/
<script> references to Wayback UI
Toolbar injection code
Delete them safely — they are not needed.
Step 2 — Clean HTML Structure
Fix common issues:
- •Unclosed <div>
- •Nested tags
- •Broken lists
- •Old table layouts
Tools to help: VSCode Auto Format, HTML Tidy, Prettier.
The cleaner the structure → the better performance.
Step 3 — Replace Archive Asset Paths
Example before:
src="https://web.archive.org/web/2018/http://example.com/images/logo.png"
After cleanup:
src="/images/logo.png"
Apply global find & replace. Automatic cleanup does this instantly.
Step 4 — Optimize CSS & Scripts
- ✔Combine stylesheet files
- ✔Minify CSS/JS
- ✔Remove unused classes
- ✔Load scripts at bottom of page
- ✔Use modern responsive units (%, REM, VW/VH)
Speeds up page load significantly.
Step 5 — Remove or Replace Old Tracking Code
Old analytics snippets might break: Outdated GA, Missing script files, Broken pixel tags.
Either remove or replace with modern tracking.
Step 6 — Fix Links & Navigation Flow
Navigation must be clean for user experience + SEO.
- •Update menu links
- •Fix blog pagination
- •Remove archive link wrappers
- •Ensure internal linking connects pages properly
Broken link → broken crawl.
Step 7 — Improve Meta Tags & On-Page SEO
Add/update:
- •<title>
- •<meta description>
- •<H1> and sub-headings
- •OpenGraph tags
- •Schema JSON-LD
- •Canonical tags
Clean HTML = easier to optimize.
Step 8 — Validate Before Publishing
- ✔Check site in browser
- ✔Test desktop + mobile
- ✔Open inspector console (fix errors)
- ✔Run speed test (Lighthouse / PageSpeed)
Goal: error-free, clean layout.
Advanced Cleanup Tips
- •Remove deprecated tags (<center>, <font>)
- •Convert old layouts to flex/grid
- •Lazy-load large images
- •Compress assets
- •Add mobile responsive behavior
Turn archive into modern fast website.
Troubleshooting
FAQ
Do I need to clean HTML manually?
No — automated cleanup exists.
Will cleaning affect SEO?
It improves SEO + performance.
Can I convert cleaned HTML to WordPress?
Yes — much easier post-cleaning.
Time required manually?
Small site: 1–3 hours. Large site: days. Automatic: minutes.
Conclusion
Cleaning HTML after Wayback restoration is what transforms a messy archived copy into a ready-to-launch website. Remove Wayback scripts, fix structure, optimize assets, and modernize the code for better SEO and performance.
Related Articles
How to Restore a Website from Wayback Machine
Complete step-by-step restoration guide
Download Website as ZIP
Get your restored files as a download
Wayback Machine Downloader Guide
Everything about downloading from Wayback
Convert Wayback Archive to HTML
Clean HTML extraction guide
Archive.org Download Guide
Download from Internet Archive
Rebuild Your Site
Full site reconstruction guide
Download Wayback Machine Website as Clean ZIP
Skip wget, Ruby and command line — get a working ZIP in 1–4 minutes.
Working with expired domains?
Check our dedicated expired domain restoration guides
Explore our complete Wayback Machine guide collection
Browse All 20 Guides